Radzikone rear Renault Megane II (all types) disc brakes mounting kit for Suzuki Vitara I (1988-1999) installation instruction (v2.3 BETA)
-
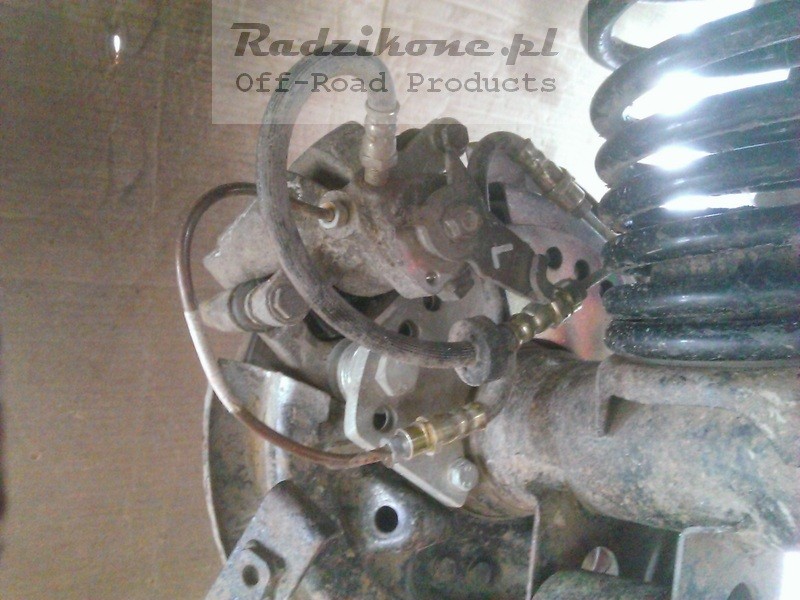
Remove completaly old brake drums (like in photo no 1):
Unscrew drums, shoe breaks (disconnect hand brake cables), cylinders (unscrew brake hoses from them) and take out both rear driveshafts. -
Install new flanges for mounting the calipers and new discs covers:
- IMPORTANT! Install one washer for each side, between flanges for mounting the calipers and axle (photo no 2)
- install new discs covers (photo no 3)
- take out 4 pins from left driveshaft and 4 pins from right driveshaft. Next, put the driveshafts with silicone into the axle and screw all togheter with new bolts (photo no 4) - Install new discs brakes directaly on the driveshafts.
-
Renault Megane II brake callipers (all types fit):
- before assembling change "plates" from the left caliper to the right caliper (photos no 11 and 12) and ream from 12mm to 12,5mm (photo no 13)
- install 10 pcs. of washers 12, under each of 4 bolts, bettwen brake yokes and flanges for installing the callipers (24mm in total but there might be diffrent versions). It's clearly visible in photos 14, 16, 17 and 18. -
Brake hoses installation (before installing rubber hoses, bend the original steel hoses accordingly):
- elastic left hose (photos no 14, 15, 16 and 17)
- right hoses: 2x elastic and one cooper (photos no 18 and 19) -
Hand brake cables installation:
- install 6 washers 12 under the armour of left cable and 6 washers 12 under the armour of right cable (photo no 13)
- cut original cables endings and take out the springs
- install twisting ends (10mm wrench) on both hand brake cables (photo no 8 – marked with "K")
IMPORTANT:
When bleeding the brakes, rear calipers must be unscrewed from the yokes and positioned at an angle such that the hose carrying the fluid from the pump to the caliper points vertically upwards. The air vent will then be point to the side.
Photo no 1

Photo no 2
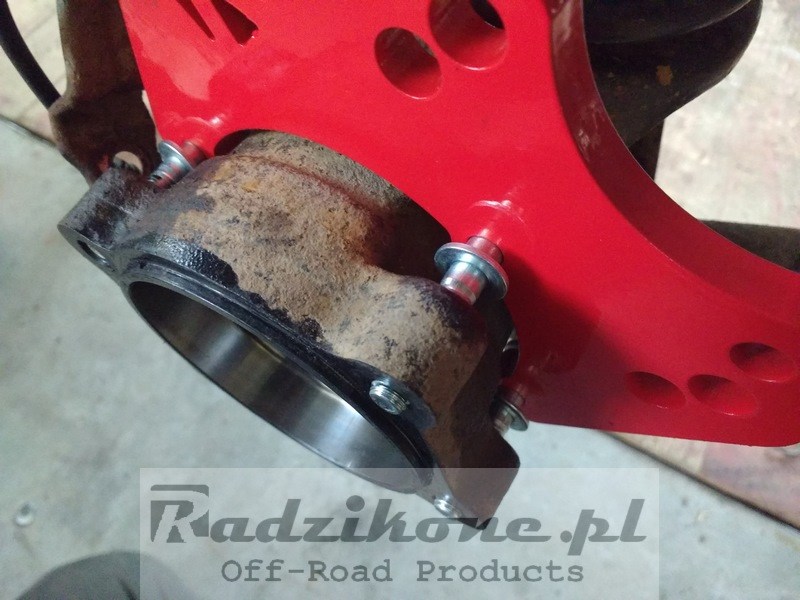
Photo no 3
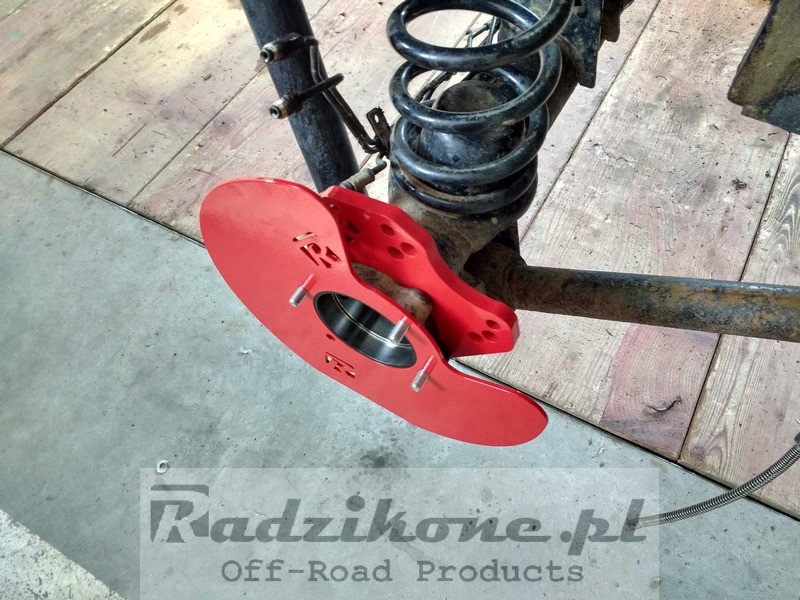
Photo no 4
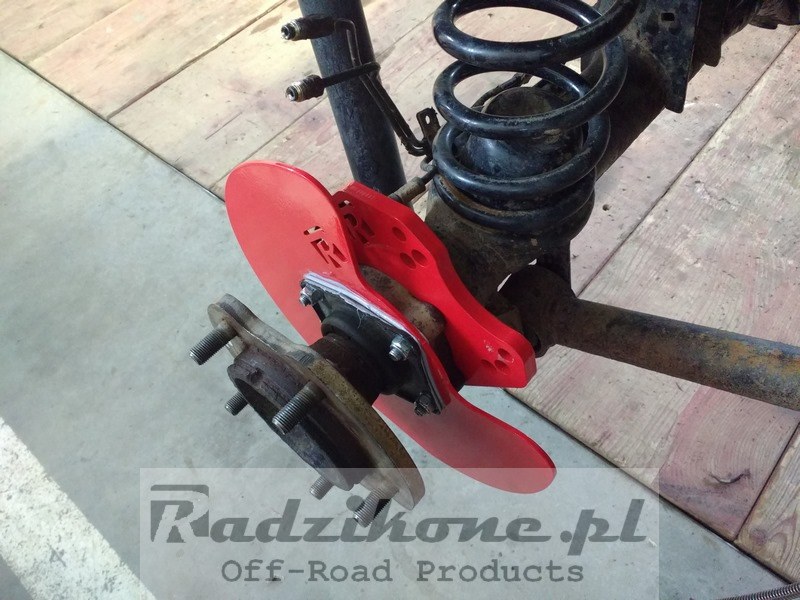
Photo no 8
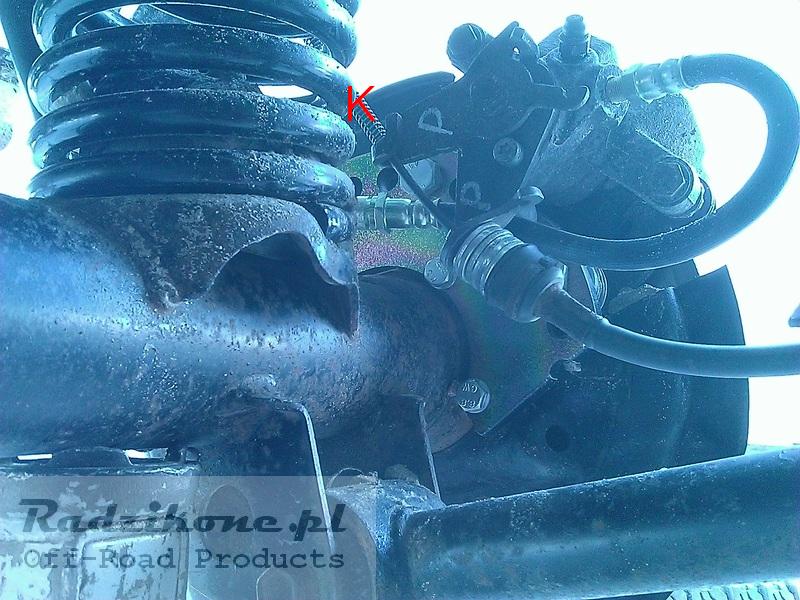
Photo no 9
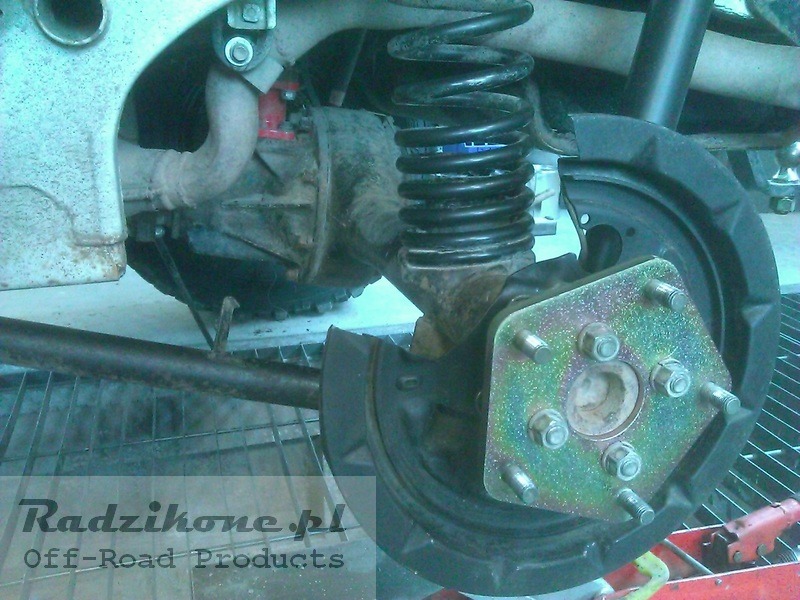
Photo no 10
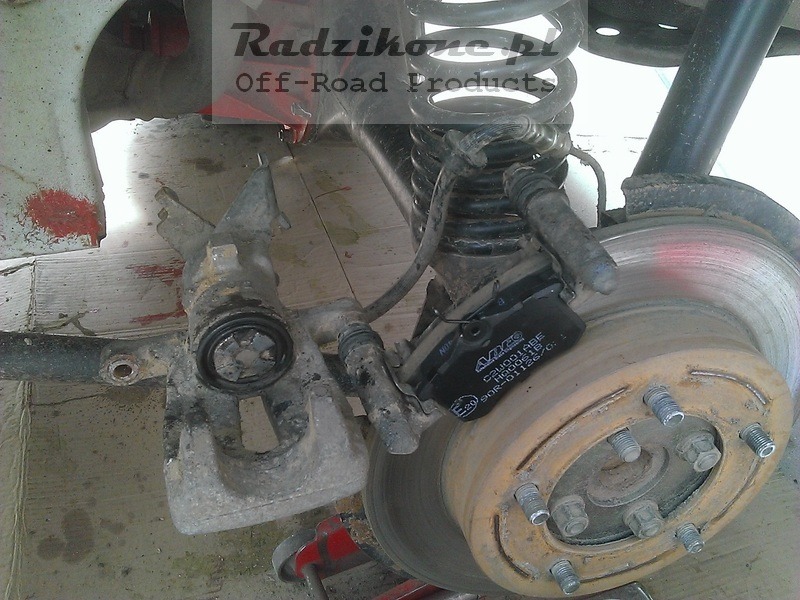
Photo no 11
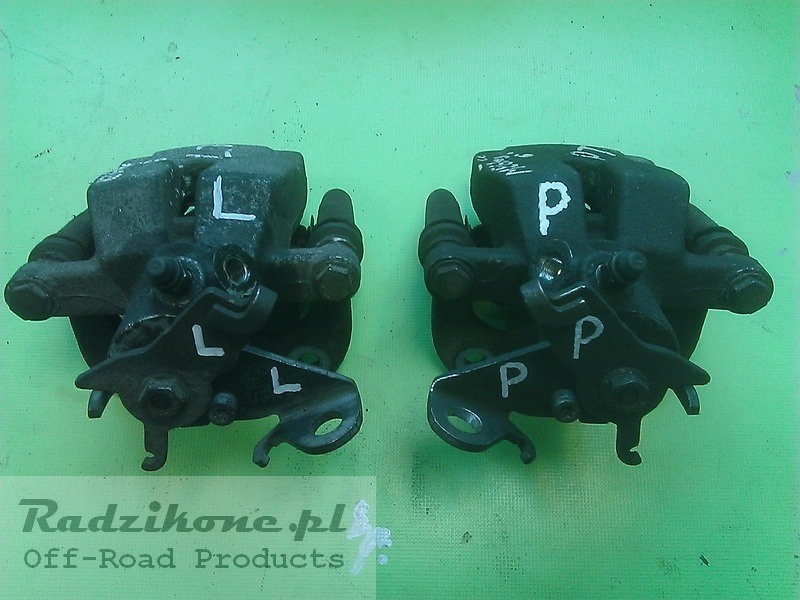
Photo no 12
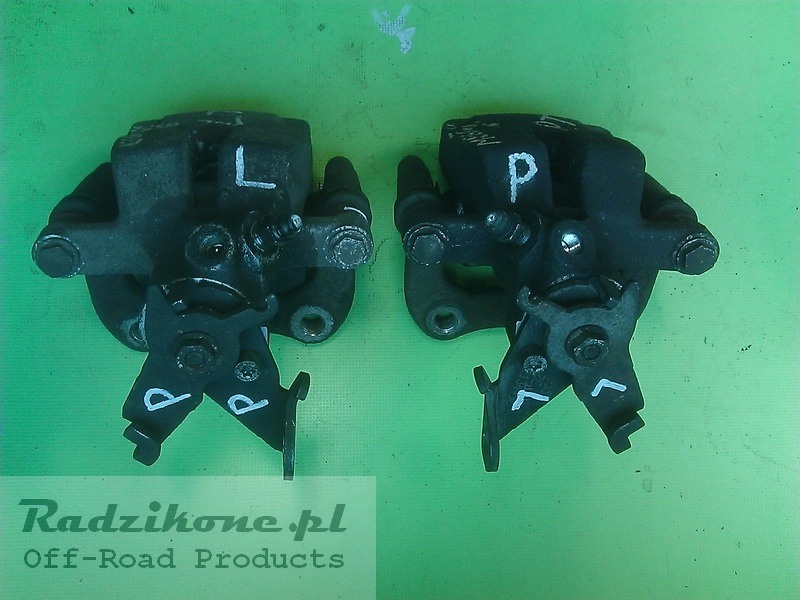
Photo no 13
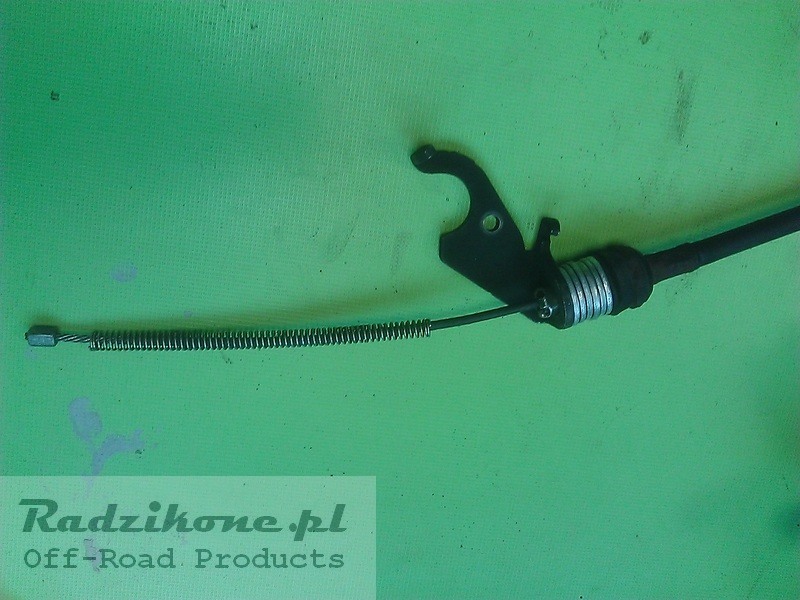
Photo no 14
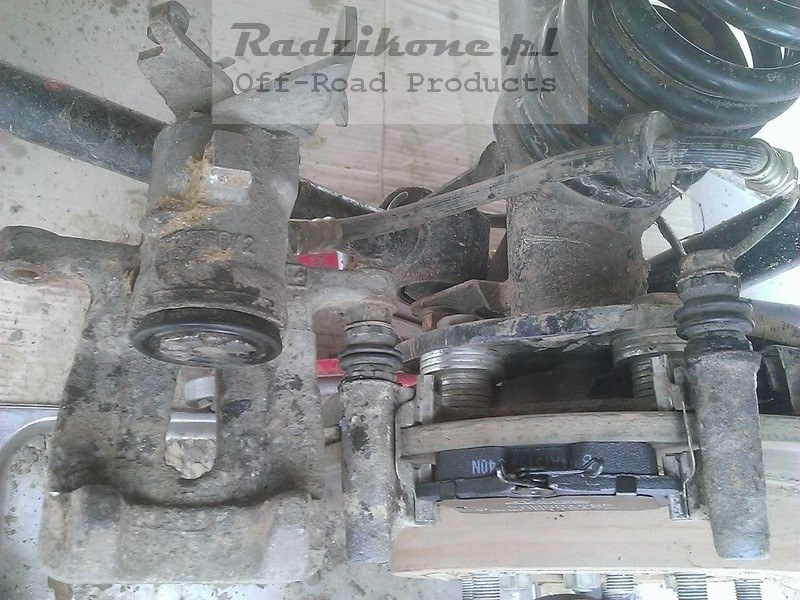
Photo no 15
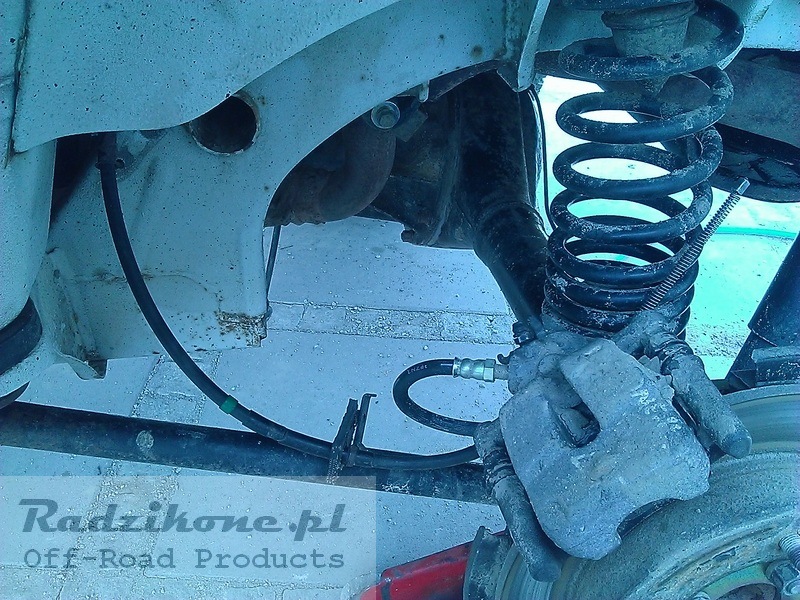
Photo no 16
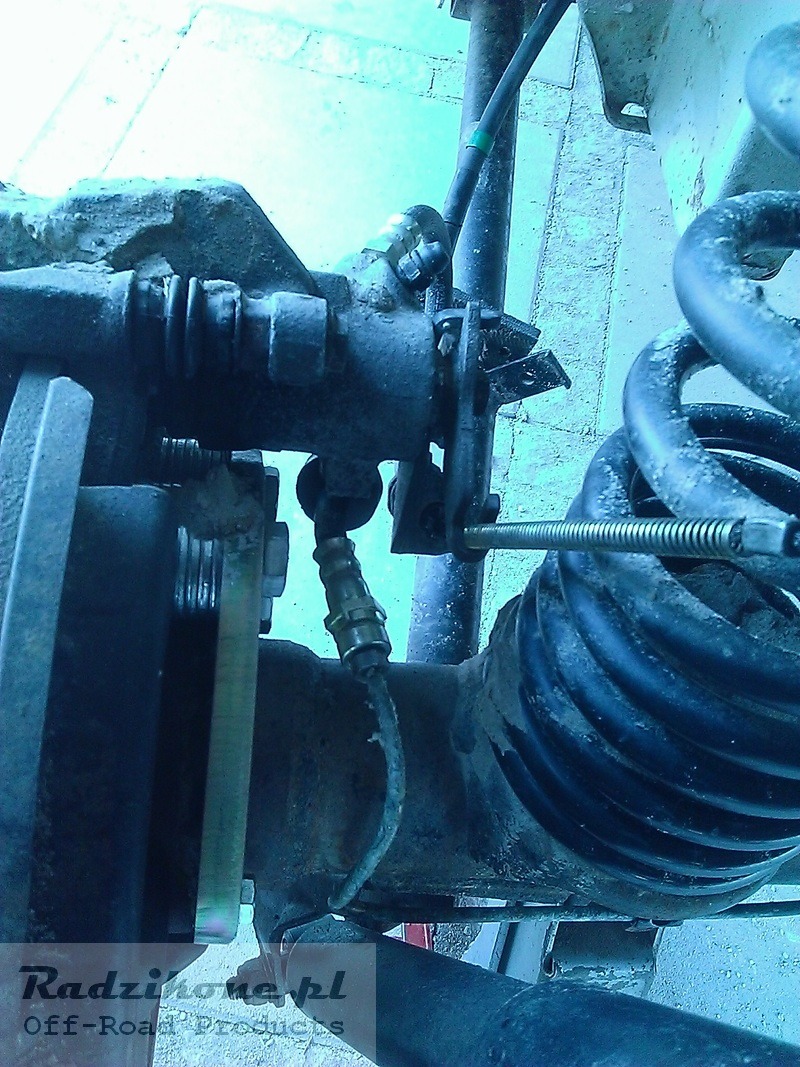
Photo no 17
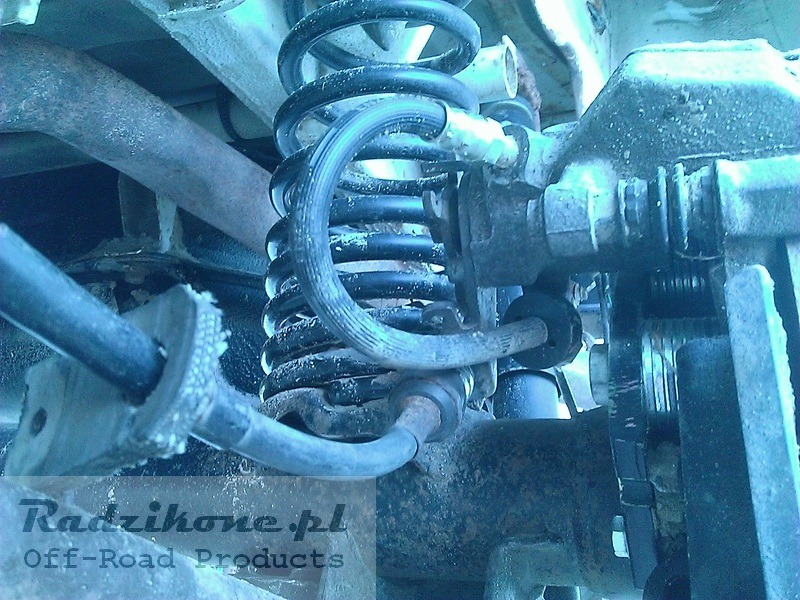
Photo no 18

Photo no 19